MLFlow
What is it?
MLflow is an open source platform to manage the ML lifecycle, including experimentation, reproducibility, deployment, and a central model registry. MLflow currently offers four components:
 Read more here: https://mlflow.org/
Helm installation into OpenShift namespace
Pre-requisites
- Install the "Crunchy Postgres for Kubernetes" operator (can be found in OperatorHub) - To store the MLFlow config
- Install the "OpenShift Data Foundation" operator (can be found in OperatorHub) - To provide S3 storage for the experiments and models
Install
<Create an OpenShift project, either through the OpenShift UI or 'oc new-project project-name'>
helm repo add strangiato https://strangiato.github.io/helm-charts/
helm repo update
<Log in to the correct OpenShift project through 'oc project project-name'>
helm upgrade -i mlflow-server strangiato/mlflow-server
Additional Options
The MLFlow Server helm chart provides a number of customizable options when deploying MLFlow. These options can be configured using the --set flag with helm install or helm upgrade to set options directly on the command line or through a values.yaml file using the --values flag.
For a full list of configurable options, see the helm chart documentation:
https://github.com/strangiato/helm-charts/tree/main/charts/mlflow-server#values
OpenDataHub Dashboard Application Tile
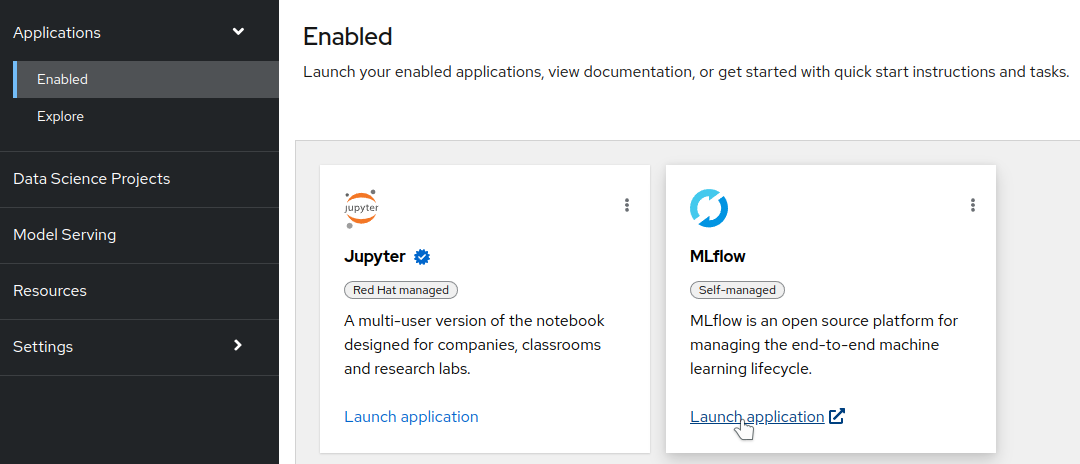
As discussed in the Dashboard Configuration, ODH/RHOAI allows administrators to add a custom application tile for additional components on the cluster.

The MLFlow Server helm chart supports creation of the Dashboard Application tile as a configurable value. If MLFlow Server is installed in the same namespace as ODH/RHOAI you can install the dashboard tile run the following command:
helm upgrade -i mlflow-server strangiato/mlflow-server \
    --set odhApplication.enabled=true
The MLFlow Server helm chart also supports installing the odhApplication object in a different namespace, if MLFlow Server is not installed in the same namespace as ODH/RHOAI:
helm upgrade -i mlflow-server strangiato/mlflow-server \
    --set odhApplication.enabled=true \
    --set odhApplication.namespaceOverride=redhat-ods-applications
After enabling the odhApplication component, wait 1-2 minutes and the tile should appear in the Explorer view of the dashboard.
Note
This feature requires ODH v1.4.1 or newer
Test MLFlow
- Go to the OpenShift Console and switch to Developer view.
- Go to the Topology view and make sure that you are on the MLFlow project.
- Check that the MLFlow circle is dark blue (this means it has finished deploying).
- Press the "External URL" link in the top right corner of the MLFlow circle to open up the MLFlow UI.
- Run
helm test mlflow-serverin your command prompt to test MLFlow. If successful, you should see a new experiment called "helm-test" show up in the MLFlow UI with 3 experiments inside it.
Adding MLFlow to Training Code
import mlflow
from sklearn.linear_model import LogisticRegression

# Set tracking URI
mlflow.set_tracking_uri(“https://<route-to-mlflow>”)

# Setting the experiment
mlflow.set_experiment("my-experiment")

if __name__ == "__main__":
    # Enabling automatic logging for scikit-learn runs
    mlflow.sklearn.autolog()

    # Starting a logging run
    with mlflow.start_run():
        # train
Source Code
MLFlow Server Source Code: https://github.com/strangiato/mlflow-server
MLFlow Server Helm Chart Source Code: https://github.com/strangiato/helm-charts/tree/main/charts/mlflow-server
Demos
- Credit Card Fraud Detection pipeline using MLFlow together with RHOAI: Demo